Micron이 직접 제공해 온 혁신적인 메모리 및 스토리지 솔루션.


Sorry. Your search did not match any active Crucial part numbers or configuration IDs.

컴퓨터를 폐기하기 위해 분해하든, 새 부품을 설치하거나, 청소하든 그냥 어떻게 작동하는지 확인하는 것이든 목적과 상관없이, 당사 가이드는 모든 부품을 분해한 다음 다시 조립하는 과정을 안내합니다.

컴퓨터 분해

당사 가이드는 가장 보편적인 방식으로 구성된 컴퓨터에 대해 다루며 컴퓨터와 제조업체에 따라 그 방식이 다를 수 있습니다. 가이드에 설명된 특정 구성 요소에 접근할 수 없는 경우에는 해당 지침을 건너뛰고 원래 구성 요소에 접근할 수 있을 때까지 다른 부품을 제거하십시오.

일반적으로, 분해 과정은 구성 요소와 다른 구성 요소를 연결하는 모든 코드와 케이블을 분리한 다음 케이스나 프레임에서 부품을 제거하는 것입니다. 구성 요소는 특별한 클립이나 나사 또는 홀더에 삽입되어 케이스에 장착되어 있을 수 있습니다. 각각의 경우에 부품을 제거하려면 힘을 약간 줘야 합니다. 부품이 움직이지 않으면, 구성 요소를 고정하고 있는 장치가 더 있는지 확인하십시오.

작은 십자드라이버 하나와 구성 요소의 제조업체에 따라 일자드라이버 하나가 필요합니다. 컴퓨터 케이스 내부의 금속은 날카로울 수 있으므로 장갑을 착용하는 것이 좋습니다.

컴퓨터를 다시 조립할 계획이라면 구성 요소를 제거한 위치, 제거한 순서 그리고 각 부품에 연결된 케이블을 상세히 기록하도록 하십시오. 제거 전에 사진을 찍거나 내용을 적어 둘 수 있습니다. 또한 나사의 위치도 주의해서 기억해 두십시오. 구성 요소나 프레임 위의 구멍에 나사를 다시 끼우거나 올바른 위치에 테이프로 붙여서 관련 구성 요소와 나사의 위치를 기억하십시오.

1단계

컴퓨터를 끈 다음 전원 코드를 뽑고 키보드, 마우스, 모니터, 헤드폰 및 외장 드라이브와 같은 컴퓨터에 연결된 주변 장치를 분리합니다.

접지용 손목 끈을 착용하거나 컴퓨터의 도색되지 않은 금속 부분을 만져서 정전기를 방전시키십시오. 카페트 위를 걸어다닌 경우에 언제든지 컴퓨터의 도색되지 않은 금속 부분을 만져서 한 번 더 정전기를 방전시키십시오.

손가락 정전기를 방전시키기 위해 컴퓨터 내부의 도색되지 않은 금속 표면을 만지는 장면


2단계

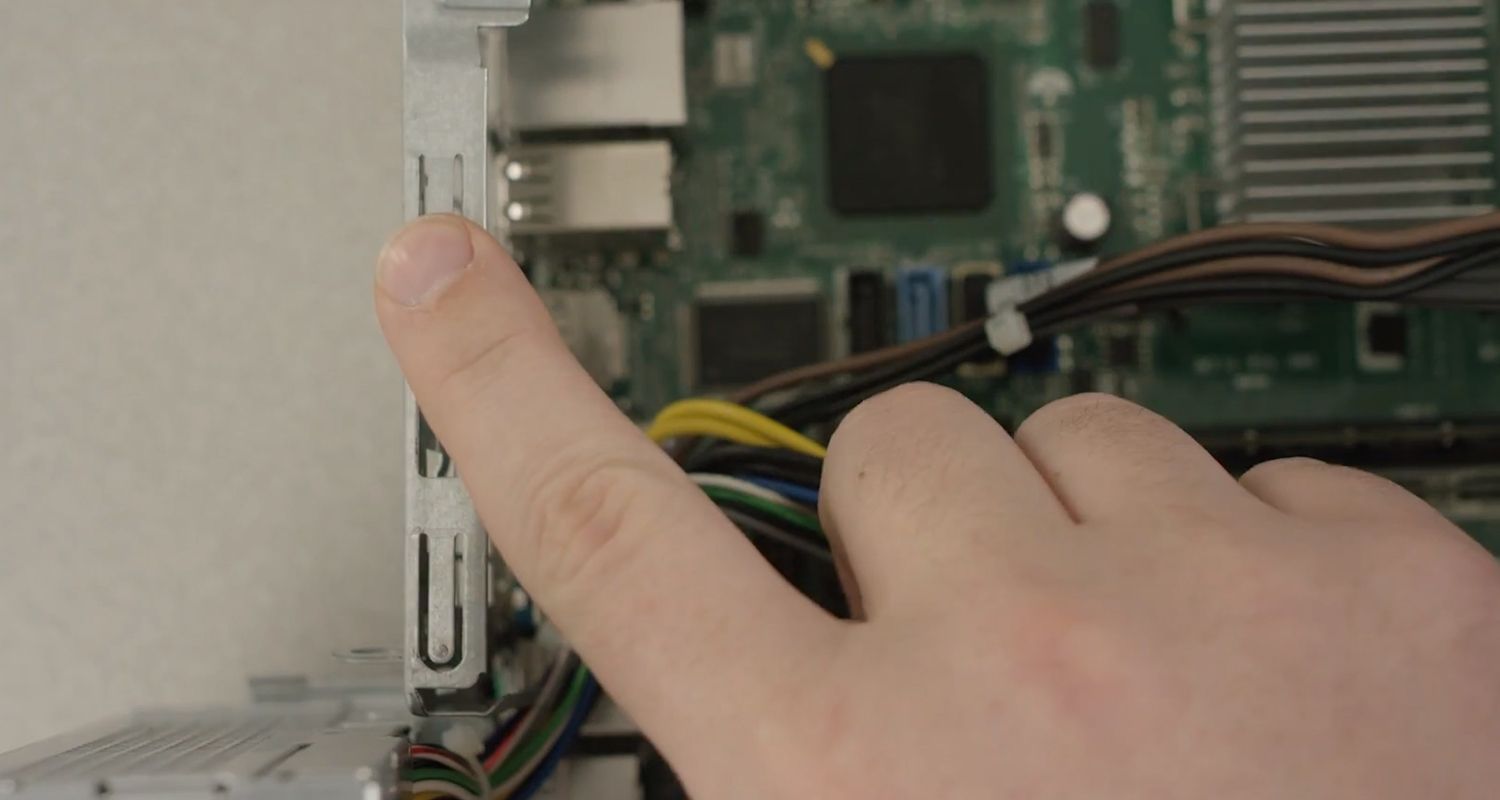
최소한 하나의 측면 덮개를 여십시오. 정면에서 컴퓨터를 바라보고 오른쪽 덮개를 여는 것이 일반적입니다. 양쪽 덮개를 모두 열면 모든 부품에 접근하기가 더 쉽습니다. 때로는 좀 더 쉽게 접근할 수 있도록 덮개에 조임식 나사가 사용됩니다.

데스크톱 컴퓨터의 케이스 제거 후 드러난 내부 하드웨어 구성 요소


3단계

모든 커넥터를 분리한 다음 카드 리더와 내부 DVD 플레이어를 제거합니다. 이러한 장치는 보통 나사로 고정되어 있습니다.
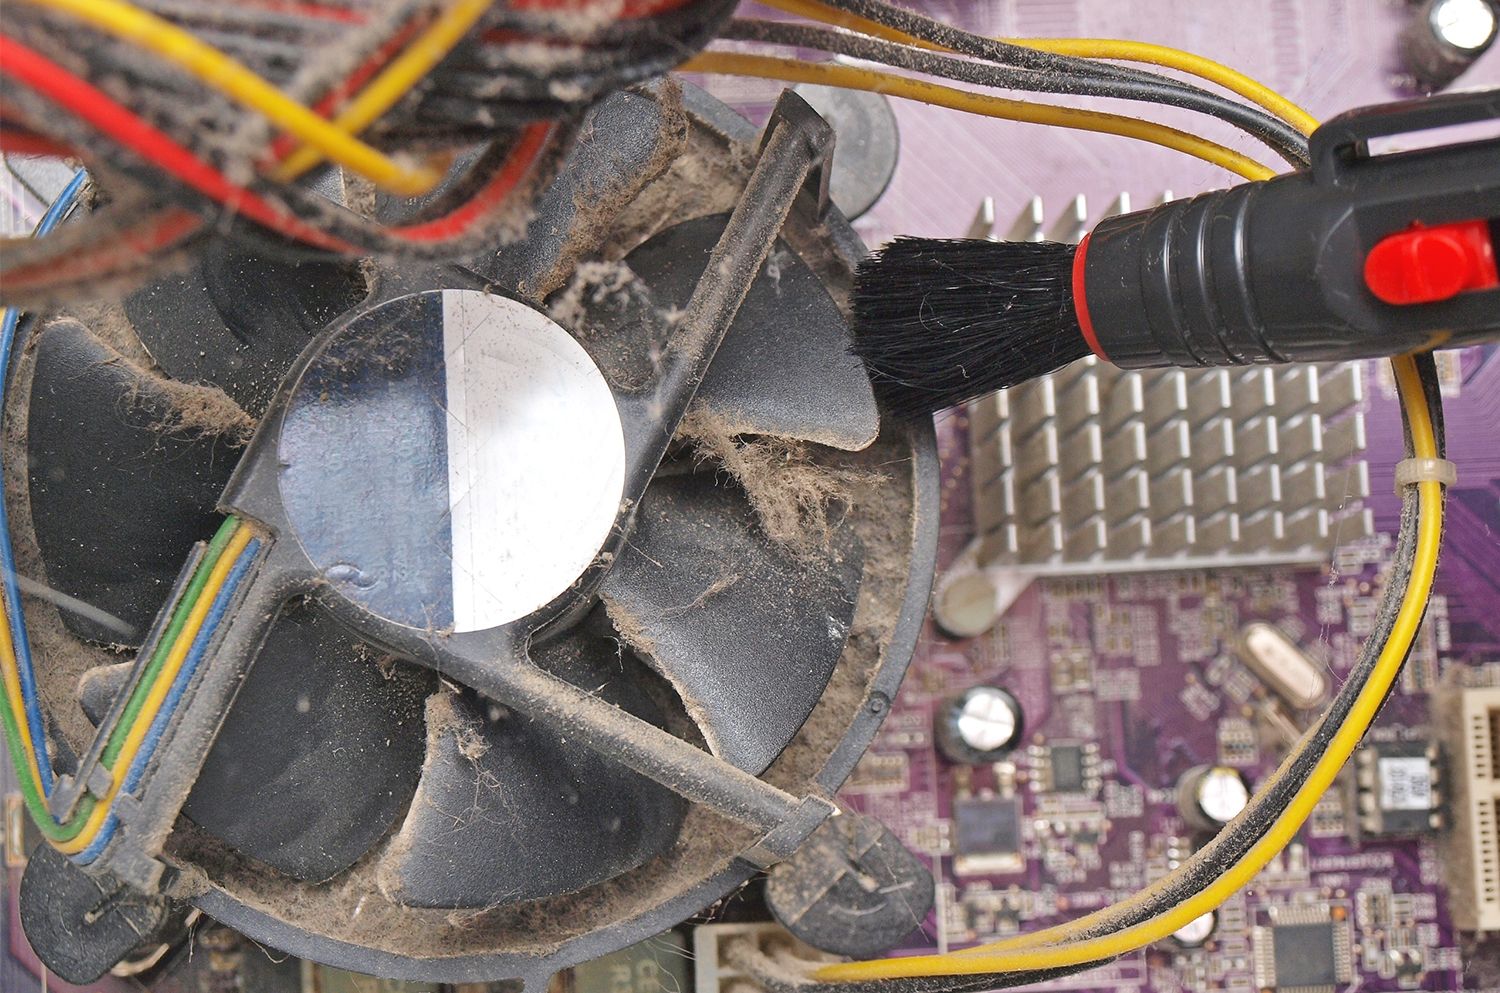
 

4단계

독립형 팬을 모두 제거합니다. 팬을 다시 사용할 계획이라면, 팬에서 먼지, 보푸라기 및 애완동물 털을 제거하는 것이 좋습니다.
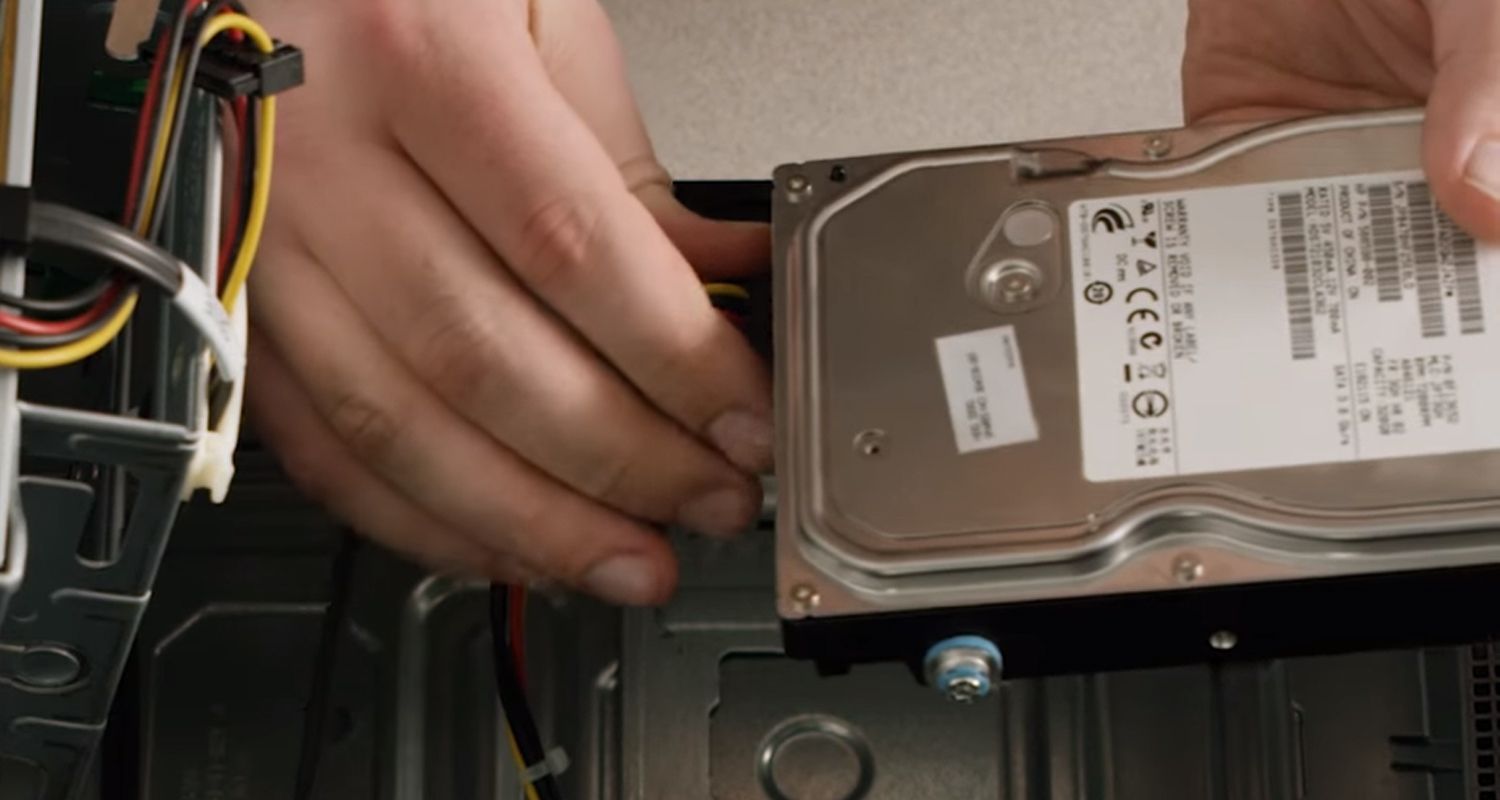
소형 브러시로 데스크톱 컴퓨터의 노출된 팬에서 먼지와 보푸라기를 제거하는 장면


5단계

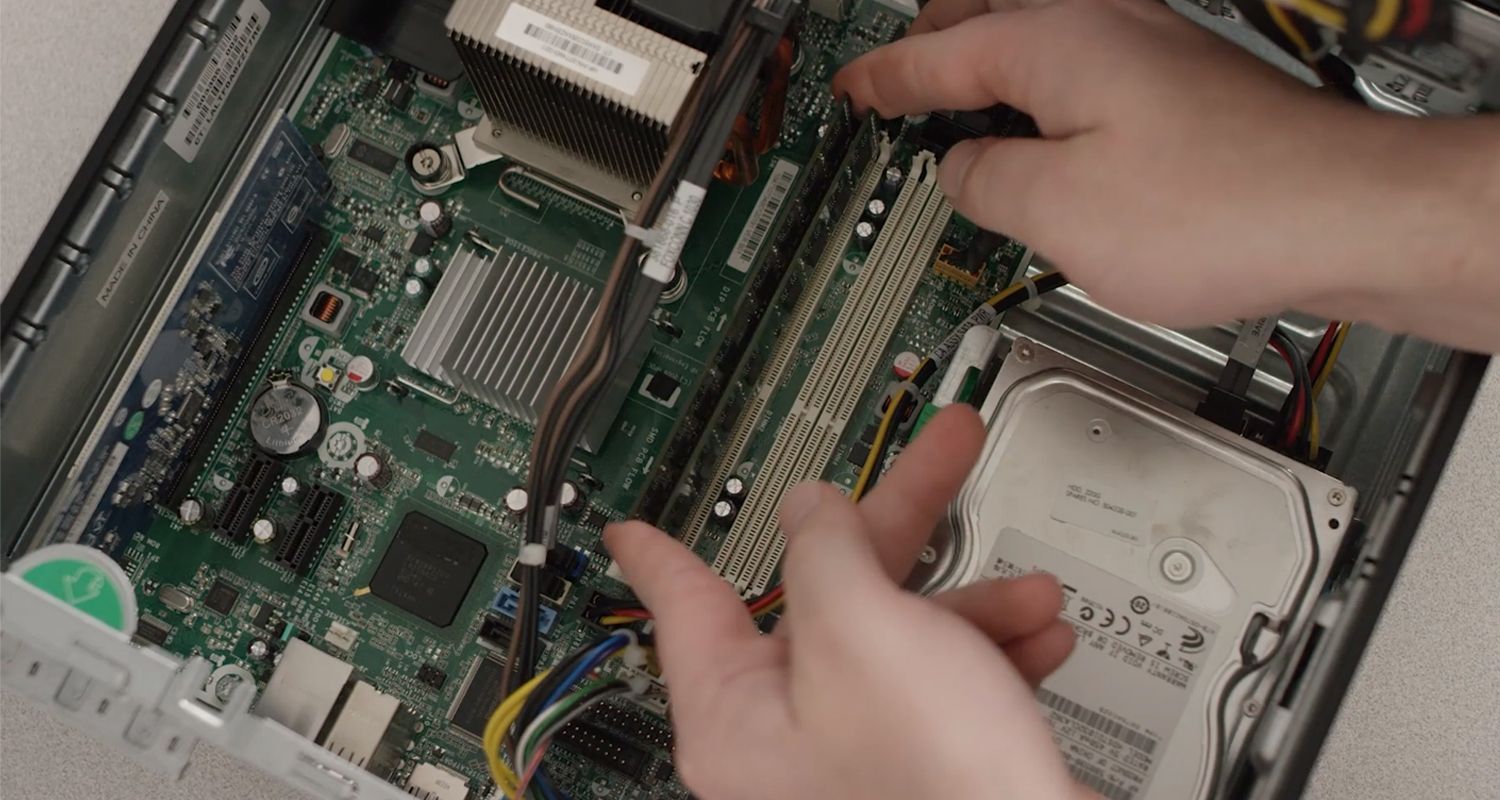
케이블을 분리한 다음 스토리지 드라이브를 제거합니다. 보통, 스토리지 드라이브는 여러 개의 나사로 고정되어 있습니다. 하드 드라이브를 사용하는 경우, 심하게 부딪히면 내부 부품이 손상될 수 있으므로 드라이브를 옮길 때는 조심스럽게 다루십시오.

손으로 데스크톱 컴퓨터의 스토리지 드라이브에서 케이블을 분리하는 장면


6단계

모듈의 양쪽 끝에 있는 클립을 아래로 눌러 메모리(RAM) 모듈을 꺼냅니다. 이렇게 하면 모듈이 위로 올라와 쉽게 꺼낼 수 있습니다. 모듈을 다시 사용할 계획이라면, 칩에 있는 금색 커넥터를 만지지 마십시오. RAM을 다시 사용하지 않을 예정이라면, 다른 애플리케이션에서 사용하는 방법을 찾아보십시오.

데스크톱 컴퓨터에서 손으로 RAM 메모리 모듈을 제거하는 장면


7단계

남은 커넥터 연결을 분리한 다음 프레임에서 장치의 나사를 풀어 전원 공급 장치를 제거합니다.

8단계

마더보드에서 모든 어댑터 또는 확장 카드를 제거합니다. 이러한 카드는 보통 미리 구성된 슬롯에 집어 넣을 수 있지만, 나사가 있을 수도 있습니다. 카드를 다시 설치할 계획인 경우에는 카드에 있는 금색 커넥터를 만지지 마십시오.

9단계

마더보드에서 모든 케이블을 분리한 다음 각 나사를 조금 돌린 후에 다시 각 나사를 다 풀어서 프레임에서 제거합니다. 이렇게 하면 장력이 조금씩 줄어들어 마더보드가 뒤틀리는 것을 막을 수 있습니다.

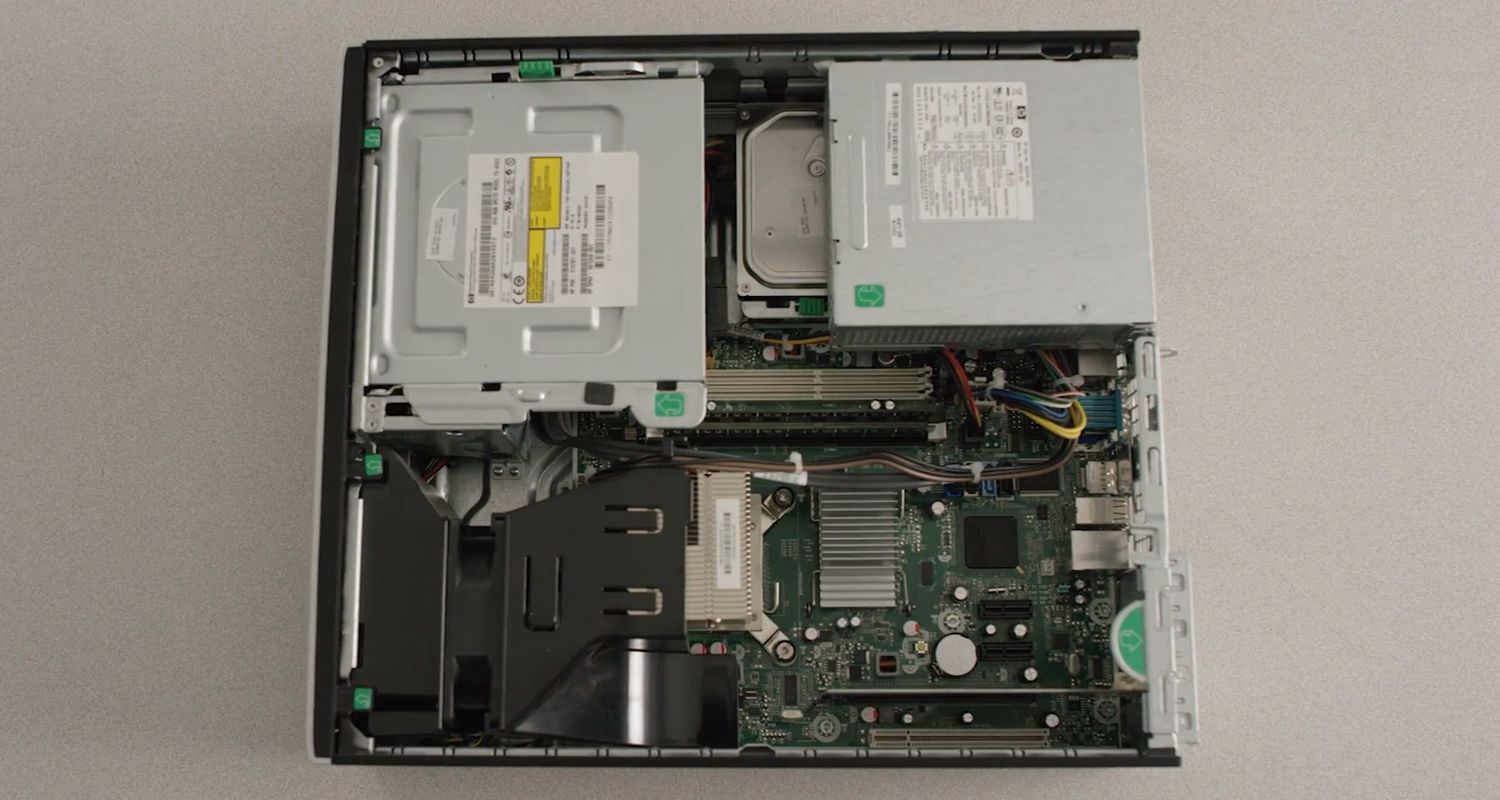
이제 컴퓨터 케이스에서 모든 구성 요소를 꺼냈습니다. 케이스를 다시 사용할 계획이라면, 먼지와 보푸라기를 모두 제거하는 것이 좋습니다.

컴퓨터 재조립

컴퓨터를 다시 조립하는 과정은 마더보드부터 시작하여 제거했던 순서와 반대로 구성 요소를 설치하면 됩니다. 구성 요소를 설치하면서 모든 케이블을 연결하십시오. 대부분의 부품은 마더보드와 전원 공급 장치에 연결됩니다.

컴퓨터를 성공적으로 분해했다가 다시 조립하신 것을 축하드립니다!


©2017 Micron Technology, Inc. All rights reserved. 정보, 제품 및/또는 사양은 별도 고지 없이 변경될 수 있습니다. Crucial 및 Micron Technology, Inc.는 인쇄된 정보나 사진에 누락 또는 오류가 있더라도 이에 대해 어떠한 책임도 지지 않습니다. Micron, Micron 로고, Crucial 및 Crucial 로고는 Micron Technology, Inc.의 상표 또는 등록 상표입니다. 다른 모든 상표 및 서비스 마크는 해당 소유자의 재산입니다.

데스크톱 PC를 분해 및 재조립하는 방법

컴퓨터에 RAM 설치

How to disassemble & rebuild a desktop PC

Whether you’re taking apart your computer to scrap it, install new components, clean it, or just to see how it works, our guide shows you how to take it all apart, then put it back together.

Computer disassembly

Our guide covers the most common ways computers are put together, but computers and manufacturers can vary. If you can’t access a particular component when it’s listed in the guide, skip to the instructions to remove the other parts until you can reach the original component.

Generally, the process is to unplug all the cords and cables connecting a component to other components, then remove the part from the case or frame. Components can be attached to the case with special clips, screws, or by insertion into a holder. In each case, no more than a small amount of force is needed to remove the part. If it’s not moving, check for more attachments that are holding the component in place.

You will need a small Phillips-head screwdriver and depending on the manufacturer of your components, possibly a flathead screwdriver. The metal inside the computer case can be sharp, so you might want gloves, as well.

If you are rebuilding the computer, be sure to document what area you removed components from, the order you removed them, and what cables attach to each part. You can take pictures before each removal or write it down. Keep careful track of the screws, as well. Keep the screws with their relevant component by screwing them back in the holes either on the component or on the frame or by taping them to the correct location.

Step 1 – Unplug your computer and peripheral items

Turn off the computer, unplug the power cord and unplug any peripheral items attached to the computer, such as the keyboard, mouse, monitor, headphones, and any external drives.

Wear a grounding strap or touch an unpainted metal part of the computer to discharge any static electricity. If you walk across a carpet at any point, touch an unpainted metal part of the computer again to discharge the built up static electricity.

Unplug your computer and peripheral items

Step 2 – Remove side covers

Remove at least one of the side covers, usually the right side as you face the front of the computer. You might find it easier to access all the parts if you remove both side covers; there are sometimes thumb screws on the covers to make access easier.

Remove side covers

Step 3 – Disconnect connectors

Disconnect all the connectors, then remove any card readers and internal DVD players. These are usually screwed into place.

Step 4 – Remove standalone fans

Remove any standalone fans. This is a good time to remove any dust, lint, and pet hair from the fans if you’re planning on reusing them.

Remove fans

Step 5 – Remove the storage drive

Disconnect the cables and remove the storage drive. Generally, storage drives are held in place by multiple screws. If you have a hard drive, be gentle when moving the drive as hard bumps can damage the internal parts.   

Remove storage drive

Step 6 – Remove memory (RAM) modules

Remove the memory (RAM) modules by pushing the clips on both ends of the module down. This will cause the module to pop up for easy removal. Do not touch the gold connectors on the chips if you’re reusing the modules. If you're not reusing the RAM, find out how it can be used in other applications.

Remove memory modules

Step 7 – Remove power supply unit

Remove the power supply unit by unplugging the remaining connectors, then unscrewing the unit from the frame.

Step 8 – Remove motherboard adapter or expansion cards

Remove any adapter or expansion cards from the motherboard. Although these cards usually slide into preconfigured slots, there can be screws. Do not touch the gold connectors on the cards if you’re reinstalling the cards.

Step 9 – Remove the motherboard

Disconnect all the cables from the motherboard, then unscrew it from the frame by loosening each screw a little bit before going around again to loosen each screw properly. This prevents any potential warping of the motherboard by gradually releasing the tension on it.

All the components should now be out of the computer case. If you’re reusing the case, this is a good time to get rid of all the dust and lint that might have collected.

Computer reassembly

If you are rebuilding the computer, insert the components in the opposite order you removed them, starting with the motherboard. Plug in all the cables as you insert the component; most items will plug into the motherboard and the power supply unit.

Congratulations, you’ve disassembled, and possibly reassembled your computer!

이 글을 본 사람들

수량:

죄송합니다. 이 주문을 완료하기에는 재고가 충분하지 않습니다.